Learning how to grow marijuana at home is as rewarding as it is exciting—it means you can have fresh weed any time of the year, save money and be your own quality control.
But it’s not as simple as just dropping a few seeds in some soil and expecting thriving marijuana plants. You need to take some key steps right off the bat to make sure you have a successful harvest.
Understand your growing conditions.
Cannabis needs to be grown within a certain climate. If you live in a hot, humid area, you’ll need to find (or create) a cool, dry space in your home with access to fresh air in order to grow marijuana at home. Monitoring and regulating the temperature and climate of your grow space is critical for success. If you notice that your basement is cool but wet, experiment with running a dehumidifier to remove some of the moisture before planting. On the flip side, if your space is too hot, run an air conditioner to cool it off and monitor the temperature before putting seeds in the soil. Figuring out your growing conditions in advance of planting will save you a lot of time, money, and disappointment in the long run.
Get the right supplies.
Growing marijuana is nothing like growing a typical houseplant. The process takes specific supplies and techniques to get results, and they don’t come cheap. It’s estimated to cost around $700 to purchase the supplies necessary to start an indoor grow. Depending on how you obtain your supplies, you might be able to bring the price tag down (for example, if you’re savvy and can research gently used or discounted equipment from reliable sources, you’ll be able to lower the bottom line). On the bright side, most of these supplies can be reused, so you’ll only need to purchase them once.
You’ll need the following supplies before you can begin to grow marijuana at home:
- One to two feminized seeds: These are bred to produce only female plants, as opposed to regular seeds that have a 50 percent chance of producing male plants (only female plants produce flowers/buds that contain a useable amount of THC).
- A grow tent: You’ll need this to keep your indoor climate stable pretty much anywhere you want to grow.
- A full-spectrum light and bulb: This will be used to provide “sunlight” for your weed plants.
- A carbon filter: This item filters out the odor the plant gives off as it grows.
- Grow light hangers: You’ll use these to hang your grow lights above your plants.
- A timer: This will be used to make sure your plant receives the correct amount of full-spectrum light. Too much or too little can damage the plant.
- A thermometer/hygrometer: This essential tool provides easy and accurate measurements of the temperature around your weed plants.
- A pH test kit and pH adjuster: It’s vitally important to keep the soil pH at the correct levels, so this product will help you to monitor and tweak readings.
- A fan: This basic item will help to keep air circulate and aid in proper ventilation.
- Pots: Look specifically for pots made of terracotta, which is the ideal material to support healthy cannabis growth.
- High-quality soil: Look for loam, as it’s the preferred material for growing cannabis.
- Nutrient packs: Many companies sell properly dosed packs of the essential nutrients cannabis needs to grow and mature.
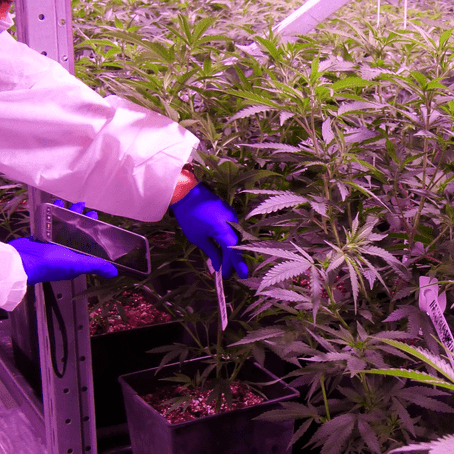
Follow the correct steps.
The key to growing quality cannabis plants indoors is attention to detail coupled with consistent effort. If you put in the work and [ensure you’re following the directions properly, you should end up with some great weed.
Here’s how:
- Germinate the seeds. Soak your seeds on paper plates, then wait for them to sprout. It can take a few days for this to occur.
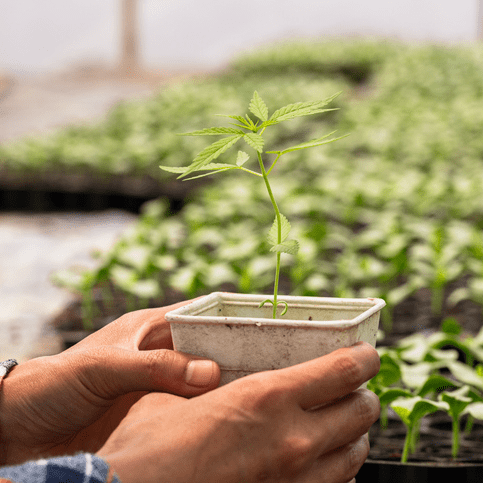
- Transfer the seeds. Once the sprouts emerge, transfer them to your pot. You want to plant them about 10mm deep in the soil.
- Let them grow. Keep your seeds under 18 to 24 hours of sunlight (this is where your grow lights come in handy!) and at about 70 to 85 degrees. You must also water frequently and supply additional nutrients as well.
- Taper the light. Once your plants start to bud, you’ll notice heavily scented buds as well as trichomes and small hairs sprouting from the growing plants. This means it’s time to now give the plant 12 hours of light and 12 hours of darkness each day.
- Wait out the flowering stage. This can last six to 14 weeks. Once it’s nearing completion, stop providing your plants with additional nutrients. Pay attention to the trichomes—when they turn an amber color, you’ll know your plants are finished flowering.
- Harvest and let dry. To harvest your marijuana, cut the main stem and then hang the plants to dry.
That’s it! It’s important to remember that marijuana plants are very delicate. They can be tricky to grow for beginners, so take the time to research and learn exactly what needs to be done to grow marijuana at home. If you’re not sure about a step, look it up. The more educated you can be about the process, the better your yield will be. Good luck!
Get your medical document and purchase medical cannabis.
It’s easy to get your medical document with online telehealth service HelloMD. Register, pay, and receive an online medical consultation with a licensed practitioner and purchase medical cannabis today.