With more and more states offering home-growing options for recreational and medical cannabis consumers, many are growing cannabis for the first time. And whether you’re growing marijuana indoors or outdoors, proper drying and curing is an essential part of the process.
Russell Green is a long-time cannabis farmer and owner of Kure Wellness, a dispensary located in Ukiah, California, in the heart of Mendocino County’s Emerald Triangle. A Mendocino native, Russ began growing cannabis as a teenager, attempting to sprout a few seeds under his bed.
FOLLOW US ON FACEBOOK & INSTAGRAM
Later, he grew top-shelf marijuana strains and became an early proponent for the county’s cannabis legalization program. Russ named his dispensary Kure Wellness to underscore the importance of cannabis curing.
“Over the years, I’ve encountered so many farmers who are great cultivators, but they don’t have the facilities, the manpower or the patience to properly cure their crop,” says Russ, adding that improper curing negatively impacts the smell and the taste of your cannabis. “If you’ve ever smoked marijuana that was extremely harsh, had a fresh-grass smell and made you cough uncontrollably, you probably smoked cannabis that wasn’t properly cured,” he explains.
Improper curing can have more serious consequences, too. “Poor drying and curing can result in contaminating your crop with mold, which ruins your harvest and potentially makes consumers very ill. Excellent curing can make the difference between flawless, grade A cannabis and something that’s really unpleasant or even unsafe to consume,” Russ says.
Curing requires experience. “Every farmer has dried and cured a crop too quickly, or stored it when it was too wet,” smiles Russ. Hopefully, by learning these post-harvest basics, you’ll optimize the time and effort you’ve spent growing your cannabis plants.
What You Need to Properly Dry & Cure Your Marijuana
It’s entirely possible to harvest on a budget. Here’s a list of the essential items you’ll need, and a few more recommendations for those wanting to take their cure to the next level.
Basic Cannabis Curing Supplies
- Metal coat hangers
- String or clothesline
- Screens or wire baking racks
- Adjustable-speed, oscillating fan
- Indoor thermometer with humidity gauge
- Plastic garden ID tags
- Paper grocery bags
- Contractor bags
- Airtight plastic storage bins, sized according to your harvest
- Garden shears and trimming scissors
- Mason jars
Deluxe Cannabis Curing Supplies
- Jeweler’s loupe
- Dehumidifier
- Boveda humidifying packs
- Hygrometer
- Turkey bags
- Black storage jars
Harvesting Your Marijuana Crop: A Mix of Science & Personal Choice
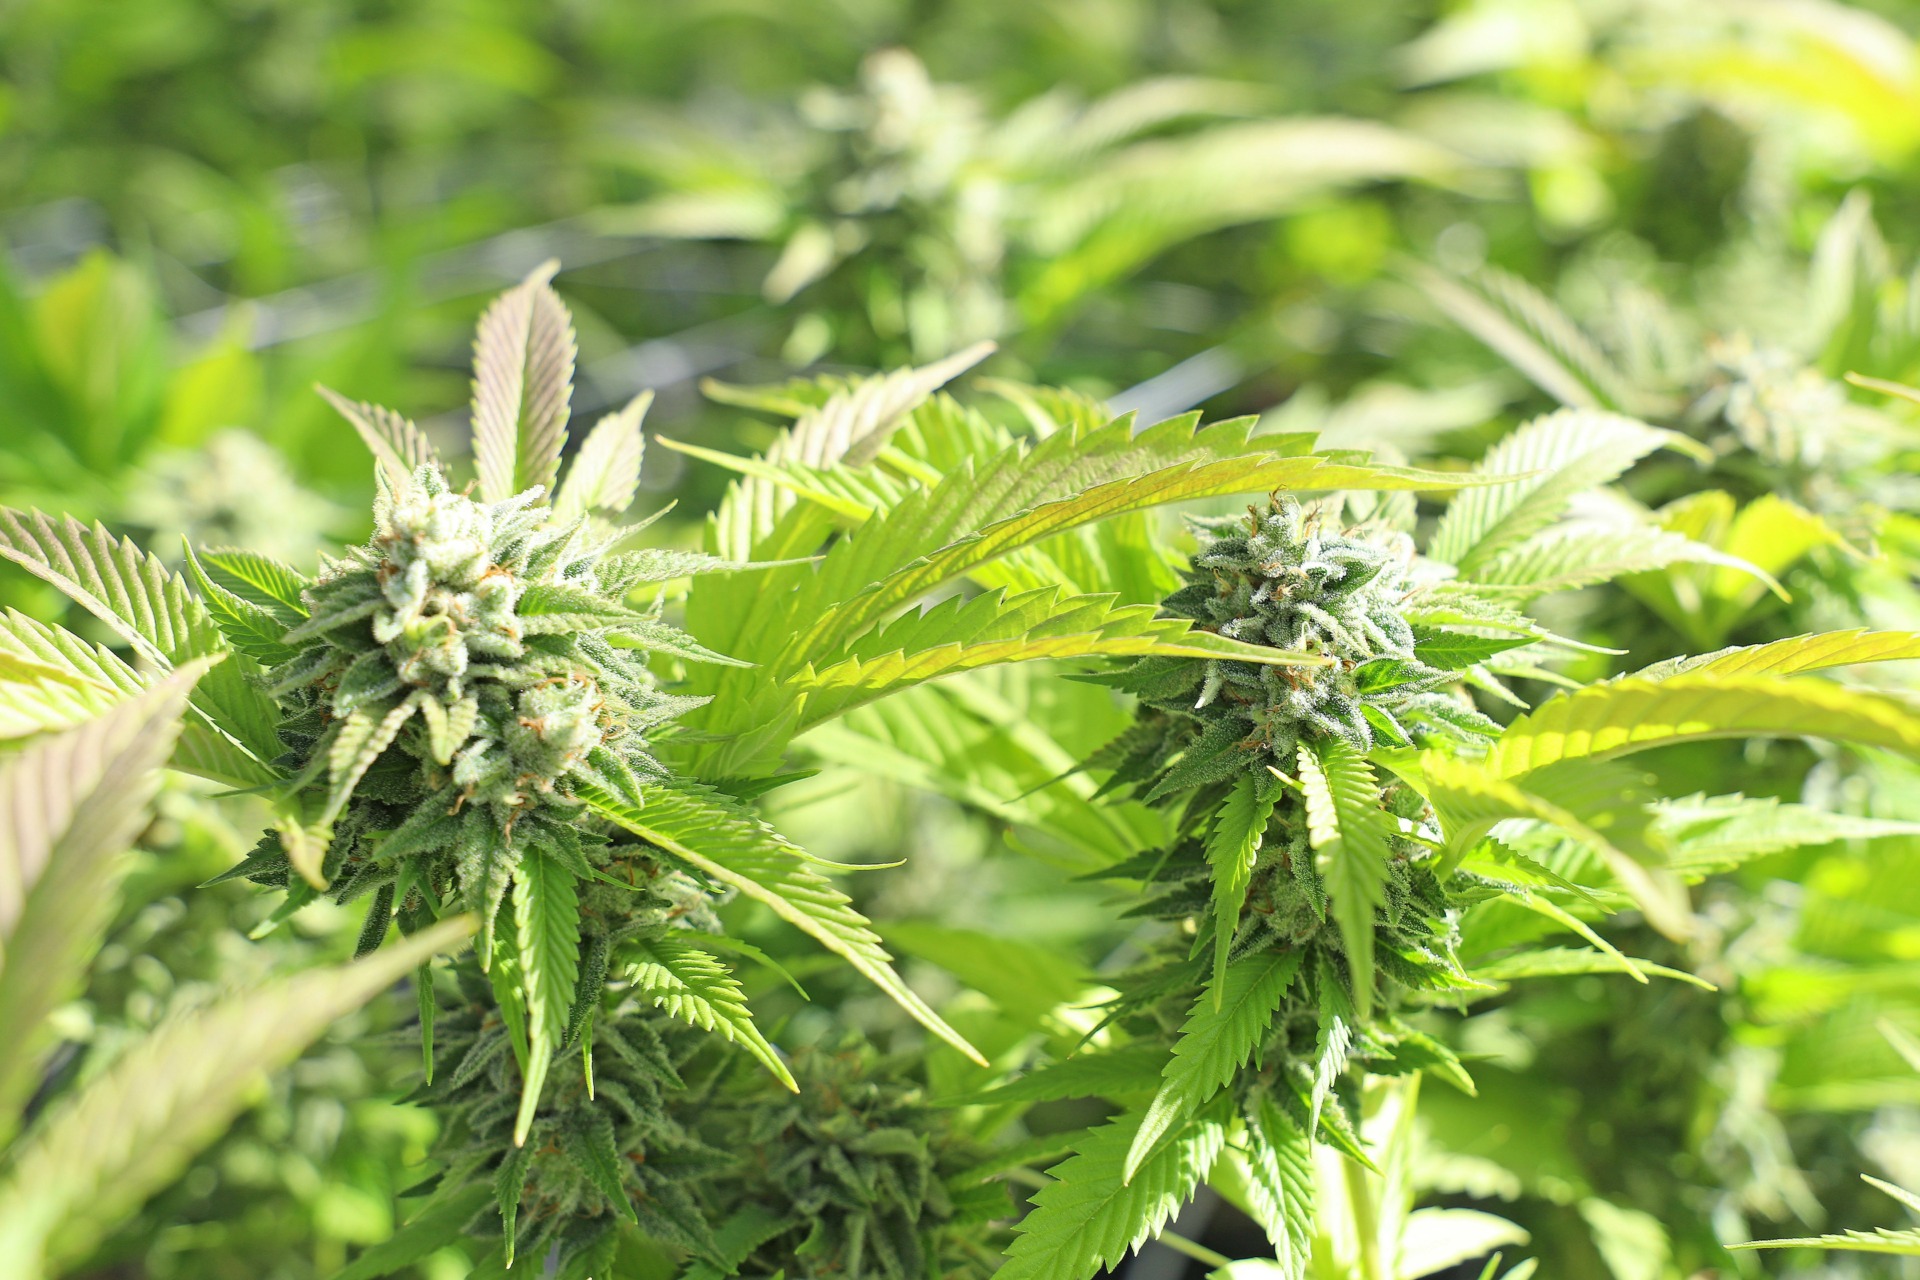
“Familiarize yourself with the look of trichomes on your plant,” says Russ. Trichomes are the tiny, hair-like appendages on cannabis flowers. They look like a mini-mushroom with a round gland on top. The glands contain the sticky, resinous cannabinoid compounds such as cannabidiol (CBD), tetrahydcrocannabinol (THC) and tetrahydrocannabinolic acid (THCA), as well as the aromatic terpenes that provide additional health benefits and enhance cannabis’s effects.
The glands change color as plants age—starting out crystal clear, resembling a drop of water. Over time, they take on a milky or cloudy appearance. At full maturity, the glands are a rich amber color—indicating the plant’s life cycle is near completion.
Generally, the more amber trichomes on a bud, the more sedating your flowers will be. But a plant with all-amber trichomes isn’t desirable, Russ notes, as aging cannabinoids degrade and trichomes fall off over-mature plants. “In general, most strains are harvestable at about 65 days. Many people harvest when trichomes present at about a 50-50 cloudy-to-amber range. The plant’s chemical makeup changes every day during harvest. Since you’re growing for yourself, feel free to snip off a bud or two and experiment,” he says.
The Internet is awash in amazing images of cannabis trichomes that will help identify their development. If you enjoy a cerebral and energetic high, harvest your cannabis when trichomes are clear to cloudy. If you’re taking cannabis for pain, harvest when you see a predominance of amber trichomes.
“You can see trichomes clearly with the naked eye, but a jeweler’s loupe is really helpful for looking at them,” Russ notes.
“Along with checking trichomes, feel your flowers. They should be as dense as possible. Be patient. Your buds will be airy if you pull too early, and they just won’t produce maximum quality or quantity. You don’t have to harvest your whole plant at once. Take a first cut from your largest stalks. Take two or even three cuts, waiting a week or two between cuts if you’re able. But if you’re growing outdoors, keep your eye on the weather,” advises Russ.
Autumn rains and moisture lodge inside dense buds, increasing the possibility of mold.
From Dry to High: Proper Drying Is Key to Having Excellent Cannabis
Start by cutting down stalks in 12-to-16-inch-long segments. Russ suggests including a portion of a main stem as a hanger to hang your stalks upside down on your clothesline. You can also try hanging a few cannabis stems on a coat hanger, placing each hanger on your clothesline.
Remove the majority of large leaves if you haven’t already, as they create a harsher end product. It’s helpful to hang similarly sized stalks together, as the dense, upper colas—groups of buds usually near the top of a stalk—will dry much more slowly than the smaller flowers produced in the interior and lower portions of your plant will.
If you’re interested in making edibles or tinctures, save and dry your fresh-trimmed leaves. And if possible, leave a portion of your original plant in its pot—we’ll tell you why in a minute.
- Give your drying stalks enough space so they’re barely touching.
- If your colas are extremely heavy and dense, pull individual buds gently apart before you hang them to encourage air circulation.
- If growing more than one strain, be sure to keep them separate or use plastic tags to identify what’s what.
- Keep notes on the date you harvested and the dates you dried and began your curing process.
“You can also cut your buds right off the stalk and dry them on screens or baking racks, but they will flatten out unless you constantly turn them,” says Russ. “Screen drying is faster than drying ‘on the stick,’ and that fast drying can create some problems. But using a screen to dry your tiny buds is useful.
“If it’s very cold where you live,” adds Russ, “cutting your buds off the stalks and screen drying them may help inhibit the growths of pathogens as they dry.”
Temperature & Humidity Control: The Essence of the Marijuana Curing Process
- Cannabis flowers do best when drying at about 66 degrees F.
- Depending on your environment, you may have to heat or cool your drying room.
- Use a room that has good ventilation, and the ability to modify the temperature and humidity.
- Never expose drying plants to direct sun.
“Professional farmers generally have climate-controlled rooms and use dehumidifiers to keep the humidity at about 50–60%,” says Russ. If your room is too warm, your harvest will crisp up in a heartbeat, creating a very harsh end-product. Drying too slowly increases the risk of mold developing.
Use a thermometer and if possible, a hygrometer to monitor the room’s temperature and humidity. Run an oscillating fan near the plants at low speed, so there’s gentle air circulation on your hanging stalks.
Check your harvest every day, and be prepared to modify your temperature and humidity several times daily if needed. Place your bulkier stalks closer to a heat source or the ceiling, and your smaller stems in the cooler parts of your drying room.
The flowers will initially take on a slightly limp appearance. After a few days, they’ll begin to look and smell like buds on dispensary shelves.
How Do I Know When My Cannabis Flowers Are Dried?
If you’ve carefully monitored your flowers, they should be dried and ready to cure in about four days for small buds, and about a week or even more for larger stalks.
“The stem-snapping trick is old school, but really effective,” says Russ. Take a few different-sized stalks off of your clothesline. Try to break them in half. Any that bend and don’t crisply snap need a bit more time on the clothesline.
Check Your Marijuana Flowers Daily
Gently feel your buds. Once they feel quite dry on the outside, but still have a bit of moisture inside:
- Lay a few stalks in paper bags for the next phase of curing.
- Fill the bags no more than a third full, and fold the bag closed.
- Each day, gently move the stalks around in the bag. Remember that every movement of the stalks will result in a few trichomes falling off of your buds.
- If stalks are drying too quickly, cut off a small portion of your original plant’s stem.
- Place stem into the paper bag to gently introduce moisture back into your flowers, which should only take a day or two.
- If your buds still seem too dry, place your paper sack into a contractor bag to slow the drying process.
- Continue to check your bags daily.
- Once buds feel moistened, remove your paper sack from the contractor bag.
This phase of curing can take another week or even more. At the end of this process, all stems should make a decisive snap when you try to break them, with your buds feeling hard but not dry. By keeping like sizes together, you’re less likely to dry out smaller stalks and can more easily monitor the larger, slower-drying stalks.
Curing Cannabis: The Waiting Is the Hardest Part
“When I was in high school, my friends would cure a little weed in a rolled-up sandwich bag. They were constantly opening it, closing it, rolling it around and stirring it up,” Russ smiles. Those kids learned from their farmer parents, and their instincts weren’t so far off from professional curing practices.
Continue to monitor room temperature and humidity. And if you’re having a hard time maintaining stable humidity, purchase some Boveda packs and place them into your paper bags to help maintain a stable humidity of about 60%.
Throughout this entire process, be vigilant about looking for the development of mold. If you spot white fuzz or slimy brown mold developing on your buds, remove that stalk immediately. Thoroughly check over stalk and your other bags for mold growth.
Once your buds are dried, cut them off the stalks to prepare them for the last phase of curing.
Long-Term Cannabis Storage
“Oxidation is an enemy of cured cannabis. You’re trying to avoid cannabinoid degradation. Oxygen and light are not your friends, so proper storage following drying is very important. At the dispensary, we store our flowers in black jars, but using mason jars is fine, as long as you keep them out of the sun and in a relatively neutral temperature,” says Russ.
- Fill your jars about two-thirds full, so that buds aren’t squashed, and they can move around.
- Every day, “burp” your jars—gently shake them and open the lids for a few minutes, allowing for air transfer before closing them back up.
If your harvest is ample, you can place your buds into plastic bins, as long as the bins are truly airtight. If not, place them into turkey bags or other food-grade plastic bags inside your bins to complete the curing process.
Every day, continue to burp your jars, turkey bags or plastic bins, moving your buds around, checking for mold and feeling if moisture has returned. If it has, go back a step and return your buds to a paper bag until they feel drier. It’s not unusual to repeat this process, and different strains will dry and cure at entirely different rates.
Once your buds are stored in jars or bags, the cure still isn’t complete. Veteran growers like Russ emphasize that the final cure can and should take weeks for all of the wonderful elements of the flowers to come together.
“The environment of your containers is important. Moisture can condensate inside your jar or turkey bag and cause mold growth. Typically, do your final storage with your buds just a little on the drier side and never on the wet side. Long-term storage should take place when the flowers are either perfect or too dry. If they’re too moist, you’ll have a disaster,” Russ notes.
Patience Is Key to Curing Cannabis
From start to finish, it’s not unusual for artisan cannabis farmers to take a month or two to dry and cure their crop. Take your time, and remember that like most fruits and vegetables, cannabis flowers are undergoing profound chemical changes long after you harvest them. It’s those amazing changes, heightened by proper drying and curing that will create the magnificent cannabis flowers you’ll be proud to have grown.
Photo credit: felixtsao
If you’re new to cannabis and want to learn more, take a look at our Cannabis 101 index of articles. HelloMD can help you get your medical marijuana recommendation; it’s easy, private and 100% online.